The Importance of Planned Downtime
When running updates, changing themes, or testing new code on a live WordPress site, it's a good practice to use a maintenance page. This page tells visitors that you're working on the site and will be back shortly, while preventing them from seeing a broken or partially updated layout. However, manually turning a maintenance page on and off can be tricky, especially if you're running updates late at night or during low-traffic windows.
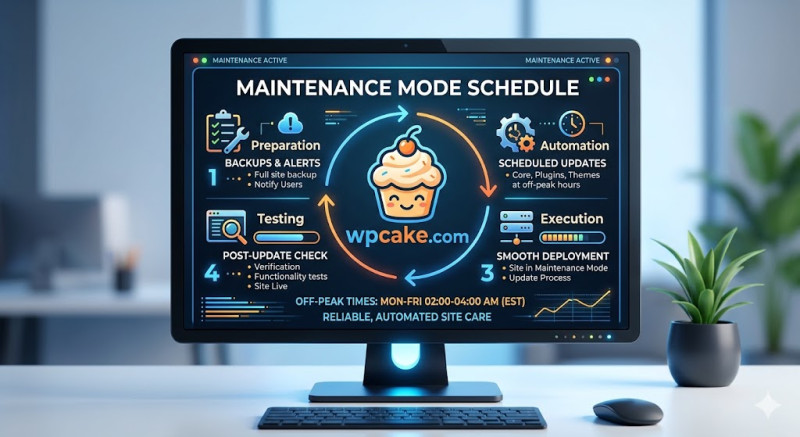
The Maintenance Mode Schedule plugin makes this easy by allowing you to schedule your maintenance windows in advance, automating the entire process.
Scheduling Your Maintenance Window
-
Deployment Phase: Navigate to Plugins > Add New, search for "Maintenance Mode Schedule", install, and activate the plugin.
-
Opening the Scheduler Panel: Go to Tools > Scheduled Maintenance to configure your window.
-
Setting Up the Timeline:
-
Start Time: Use the calendar pop-up to set the exact date and time you want the maintenance page to go live.
-
Duration Tracker: Specify how long the site should stay in maintenance mode (e.g., 30 minutes, 2 hours).
-
-
Designing the Visitor Notice: Enter a friendly message for your visitors in the text area, such as "We are currently conducting scheduled performance updates to serve you better. We'll be back online by 2:00 AM."
-
Activating the Schedule: Check the box labeled Enable Scheduled Timer and click Save changes.
Smooth and Automated Transitions
Once configured, the plugin handles the rest. When the scheduled time arrives, the site automatically switches to your custom maintenance page for regular visitors while keeping the dashboard fully accessible to logged-in administrators.
Once the time expires, the maintenance page turns itself off automatically, restoring access to your site without requiring any manual intervention.