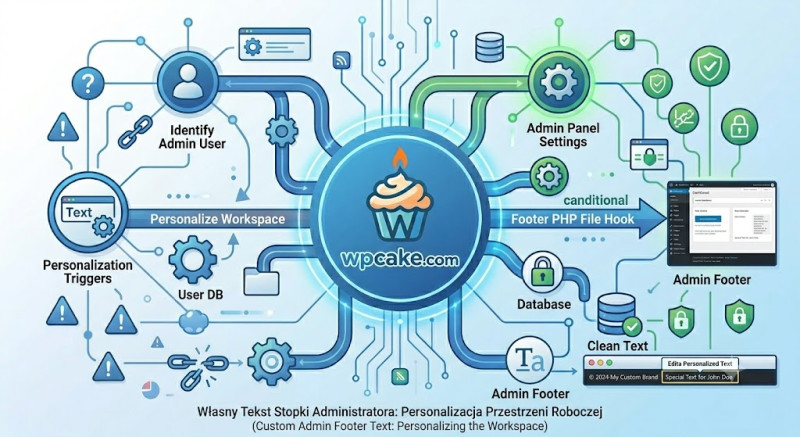
White-Labeling the Dashboard
The default WordPress administration dashboard features a subtle credit line in the bottom footer that reads:
"Thank you for creating with WordPress." While this is a nice nod to the platform, agency owners and freelance developers
often prefer to replace this generic text with a custom white-labeled message. Adding a custom footer notice is an easy way
to provide a more professional, cohesive experience for clients.
The Custom Admin Footer Text plugin offers a safe, simple way to customize this footer text across the entire backend area,
completely removing the default branding without needing to edit core files.
Customizing Your Footer Notice
-
Installation: Go to Plugins > Add New, search for "Custom Admin Footer Text", install, and activate the plugin.
-
Accessing the Settings Panel: Navigate to Settings > Custom Footer Text.
-
Writing Your Branding Message: Enter your custom text into the provided workspace field. You can include helpful details
-
such as support links or documentation resources. For example:
HTMLCustomized for Brand Studio by <a href="https://agency.com" target="_blank">Agency Name</a>. Need help?
Open a <a href="mailto:support@agency.com">Support Ticket</a>.
4. **Saving Your Updates:** Click *Save Footer Text* to apply your changes.

### Reviewing the Clean Backend View
Once saved, refresh your page to see your custom branding line seamlessly integrated into the
bottom of every administration dashboard screen.

This subtle update replaces generic system text with helpful, professional links to your agency's
 support channels, making it easy for clients to get in touch whenever they need assistance.

---

## 20. Simple User Log: Tracking Dashboard Activity

### Keeping an Eye on Site Changes
When managing a collaborative WordPress site with multiple authors, editors, or external developers,
 it can be helpful to keep track of site changes. If a plugin is accidentally deactivated, a page
 layout is altered, or a post is deleted, finding out who made the change—and when—can save hours of
troubleshooting.

The **Simple User Log** plugin provides a lightweight, secure activity log directly within your
WordPress dashboard. It records key backend actions without slowing down your site's performance.

### Setting Up Your Activity Tracker
1. **Activation Phase:** Go to *Plugins > Add New*, search for "Simple User Log", install, and
 activate the module.
2. **Viewing the Activity Stream:** Look for the new *User Log* menu entry in your main sidebar.
Click it to open the central monitoring dashboard.
3. **Understanding the Log Data:** The dashboard displays a clean, chronological table showing
 key details for every major site action:
   * **Timestamp:** The exact date and time the action occurred.
   * **User Profile:** The username and IP address of the person who performed the action.
   * **Event Action:** A clear description of the change (e.g., *Updated Post: "Summer Launch"*,
 *Deactivated Plugin: "Contact Form"*).
4. **Managing Log Storage:** Go to the plugin's settings tab to choose how long to keep activity
records. For most sites, a rolling 30-day log history is plenty to keep things running smoothly
without cluttering your database.

### Simple and Reliable Troubleshooting
Because the log is stored locally and securely within your WordPress database, you don't have
to worry about sharing data with external tracking platforms.

The next time a layout changes unexpectedly or a setting is adjusted, you can simply