


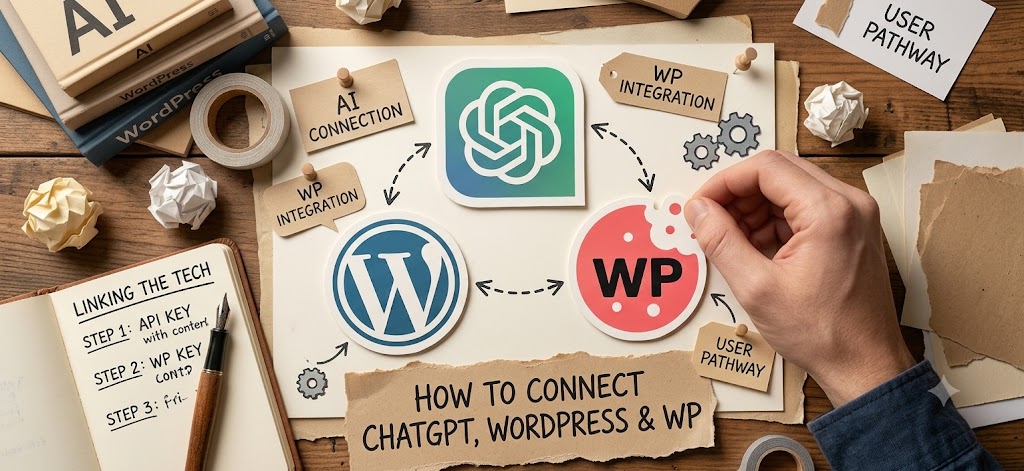
Alright, so you want to hook up ChatGPT to your WordPress site. Maybe you’re tired of staring at a blank page and want an AI assistant to help you draft posts, or maybe you want to put a chatbot on your homepage so you don’t have to answer the same three customer questions fifty times a day.
Whatever it is, you don’t need to be some coding genius. Honestly, the whole process takes about ten minutes if you don’t get distracted.
Here is the straightforward, no-BS guide to getting it done.
Phase 1: Getting the “Secret Key” from OpenAI
Think of this like getting a VIP pass. WordPress needs OpenAI’s permission to use its brain, and that permission comes in the form of an API key.
- First, head over to platform.openai.com. If you already have a basic ChatGPT account, just log in with those same details.
- Look at the menu on the left. You’re looking for a tab called API Keys. Click that.
- Click “Create new secret key”.
- Give it a name. It doesn’t really matter what you call it, just something like “My WP Blog” so you don’t delete it by accident later.
- Pay attention here: Copy that key immediately. Seriously, paste it into a Notepad file or sticky note. Once you close that popup, OpenAI hides the key forever, and if you lose it, you’ll have to delete it and start over.
(Oh, and a quick heads-up: make sure you link a payment card to your OpenAI developer account and add like $5. The API isn’t free—though it’s dirt cheap, we’re talking pennies for thousands of words. If you don’t add five bucks, the connection will just spit out errors.)
Phase 2: Installing the bridge (The Plugin)
Sure, you could write custom PHP code to connect these two, but why reinvent the wheel?
I’ve tried a dozen different plugins for this, and the one that actually works without crashing your site is AI Engine by Meow Apps. The free version is more than enough for what we need.
- Go to your WordPress admin dashboard.
- Click Plugins > Add New.
- Search for “AI Engine”.
- Install it, wait three seconds, and hit Activate.
Phase 3: Making them talk to each other
Now we just link the two things we just set up.
- In your WordPress sidebar, you’ll see a new menu item called Meow Apps (or just AI Engine). Click it.
- Go to the Settings tab.
- See that empty box labeled API Key (or OpenAI Key)? Paste that long string of gibberish we copied in Phase 1 right there.
- Scroll down and save.
That’s literally it. They are connected.
So, what can you actually do with this now?
Once the connection is green, you have two main toys to play with:
- The Content Writer: If you go to the “Content Generator” tab in the plugin, you can generate outlines, write intro paragraphs, or brainstorm titles. It’s great for getting past writer’s block, though please, edit the output before publishing. Don’t just copy-paste raw AI text.
- The Live Chatbot: This is the coolest part. Go to the “Chatbots” tab, customize how the window looks, and give your bot a personality (e.g., “You are a sarcastic but helpful assistant for a shoe store”). The plugin will give you a tiny piece of code called a shortcode—looks like
[mwai_chatbot]. Just paste that onto any page, and you’ve got a working chatbot.
Want to go backwards? (Control WP from ChatGPT)
There’s this new tech called MCP (Model Context Protocol) that people are talking about. It basically does the opposite: instead of putting ChatGPT inside WordPress, it lets you sit on the ChatGPT website and control your site by typing things like “Hey, draft a new post about SEO trends.”
If you want to try that, you’ll need a plugin like Easy MCP AI, and you’ll have to generate an “Application Password” under your WordPress user profile. It’s a bit more advanced and feels a little sci-fi, but it’s incredibly fun to mess around with if you’re tired of the standard WP admin interface.
Leave a Reply